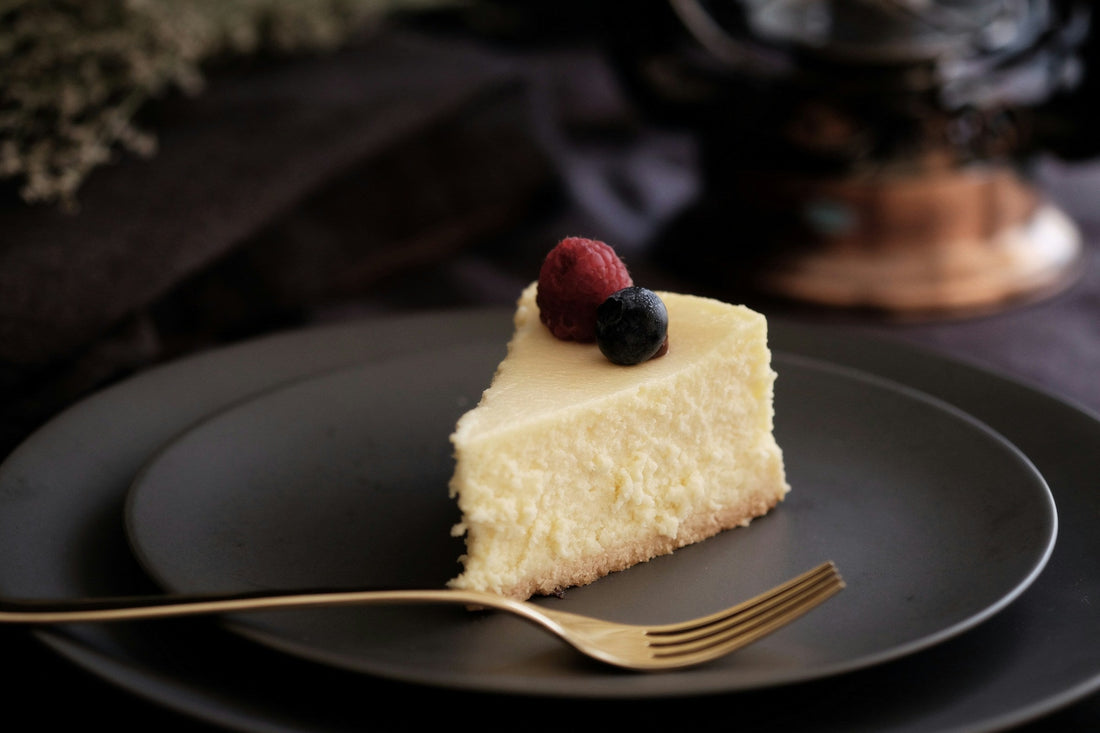
Cheesecake is already pretty perfect, but when you make it with honey instead of regular sugar, something wonderful happens. The flavour becomes deeper, more interesting, and that gorgeous golden colour makes it look like sunshine on a plate.
Honestly, once you try honey cheesecake, the regular version feels a bit flat in comparison. The honey adds complexity that makes each bite more satisfying, and it’s actually easier to work with than you might think. This recipe gives you that bakery-quality result without any complicated techniques.
Why You’ll Love This Recipe
-
Naturally sweet: Honey adds depth that plain sugar just can’t match
-
Foolproof method: No complicated techniques or tricky steps
-
Make-ahead friendly: Actually tastes better the next day
-
Gorgeous presentation: That golden honey colour is absolutely stunning
Ingredients (Serves 8-10)
For the base:
-
200g digestive biscuits, crushed
-
75g butter, melted
-
2 tbsp British Wildflower Honey
For the filling:
-
600g full-fat cream cheese, at room temperature
-
150ml honey
-
3 large eggs
-
300ml sour cream
-
1 tsp vanilla extract
-
2 tbsp plain flour
-
Pinch of salt
For the topping:
-
200ml sour cream
-
2 tbsp honey
-
Fresh berries or chopped nuts (optional)
Step-By-Step Instructions
-
Prep Your Pan
Preheat your oven to 160°C (140°C fan)/325°F/Gas Mark 3. Grease a 23cm springform tin and line the bottom with baking paper. Wrap the outside in foil if you’re worried about leaks.
-
Make the Base
-
Crush the digestive biscuits until they’re fine crumbs (a food processor works brilliantly, or bash them in a sealed bag with a rolling pin).
-
Mix with melted butter and 2 tablespoons of honey until it holds together like wet sand.
-
Press firmly into the bottom of your prepared tin.
-
Bake for 10 minutes, then set aside to cool.
-
Prepare the Filling
-
Make sure your cream cheese is properly softened; this prevents lumps.
-
In a large bowl, beat the cream cheese until smooth and creamy.
-
Gradually add the honey, beating until well combined.
-
Add eggs one at a time, mixing gently after each addition.
-
Fold in the sour cream, vanilla, flour, and salt until just combined.
Don’t overmix at this stage as too much beating can cause cracks later.
-
Assemble & Bake
-
Pour the filling over the cooled base and smooth the top.
-
Gently tap the tin to release any air bubbles.
-
Bake for 50-60 minutes until the centre is almost set but still has a slight wobble.
-
The top should look golden but not browned.
-
Cool Gradually
-
Turn off the oven and leave the door slightly ajar.
-
Let the cheesecake cool in the oven for 1 hour. This prevents sudden temperature changes that cause cracks.
-
Remove and cool completely at room temperature, then refrigerate for at least 4 hours or overnight.
-
Add the Topping
-
Mix sour cream with 2 tablespoons of honey.
-
Spread gently over the chilled cheesecake.
-
Top with fresh berries, chopped nuts, or a final drizzle of honey.
Pro Tips for Perfect Results
-
Room temperature ingredients are key: cold cream cheese creates lumps no matter how much you beat it.
-
Don’t overbake: the centre should still jiggle slightly when you shake the pan. It continues cooking as it cools.
-
Water bath optional: while some recipes insist on it, this version is designed to work beautifully without the fuss.
-
Patience pays off: this cheesecake truly tastes better after overnight chilling. The flavours meld together beautifully.
Serving Suggestions
Slice with a clean, warm knife for the neatest cuts. Serve with fresh strawberries, a drizzle of extra honey, or alongside a cup of strong coffee.
This cheesecake keeps covered in the fridge for up to 5 days, though it rarely lasts that long once people taste how good honey makes everything.

